You don’t need built-in shelves to give every pantry item a practical home. Small pantry organization starts with usable storage: a sturdy removable unit, simple food groups, and enough room to reach what you need.
Whether it’s an empty cupboard or narrow nook, you can organize a small pantry without a renovation. For a small kitchen pantry, use practical pantry organization ideas, starting by measuring before buying organizers.
Key Takeaways
- Measure the pantry opening and interior before buying storage, and choose a cool, dry location for food.
- Start with a sturdy freestanding rack or cabinet, then add bins, trays, or risers only where they improve access.
- Group foods into practical zones based on how your household cooks and shops, keeping everyday items within easy reach.
- Use containers you already own, leave room for groceries, and reset the pantry between shopping trips to keep it manageable.
Measure Your Pantry Before Buying Storage
A storage unit needs to fit your pantry and work with the way you use it. Measure the space, then check how you’ll move food in and out.
Measure the Opening and the Interior
Record the doorway width, interior width, depth, and height. Include baseboards, door hinges, and any pipes that reduce the available room.
Check the door’s swing, too. A rack that fits inside the pantry can still prevent the door from closing.
Before choosing bins, measure the shelves they’ll sit on, especially deep shelves where reach matters. Allow room above each bin so you can lift it out comfortably. Your tallest cereal box and widest appliance can help you judge the shelf spacing you’ll need.
Keep these measurements on your phone so they’re available when you shop.
Check Whether the Location Suits Food Storage
An empty space isn’t always suitable for food storage. Avoid placing food beside a hot appliance or in a damp corner.
The USDA’s shelf-stable food safety guidance recommends cool, dry storage for shelf-stable foods such as canned goods. It advises against storing shelf-stable food above or beside the stove, or under the sink.
If your kitchen nook doesn’t meet those conditions, consider a cupboard in a nearby room. Keep cleaning products separate from food.
Empty the Pantry and Sort What You’ll Keep
Clear the pantry completely before adding storage. You’ll make better decisions when you can see everything together.
Use these simple organizing tips to guide your decluttering:
- Take everything out and group matching foods on a clear surface.
- Check packaging, storage instructions, and dates before deciding what to keep.
- Clean the empty space and let it dry before returning food.
Set aside unopened food you won’t use. Check your local food bank’s donation rules rather than assuming every item is accepted.
Discard leaking or bulging cans and food with visible mold or pest damage. Don’t taste questionable food to decide whether it’s safe.
Dates need context. The USDA’s food safety basics gives a general shelf-storage period of 12 to 18 months for unopened high-acid canned goods, including tomatoes. That’s not a universal deadline for every food storage situation.
Once you’ve sorted everything, count duplicates. You may already have enough pasta or canned beans to skip them on your next shopping list.
Add Storage That Doesn’t Need Built-In Shelves
Choose your main storage unit before buying accessories. Bins and baskets, storage containers, and lazy Susans can organize a surface, but they don’t replace one. Add shelf risers only after choosing your main unit.
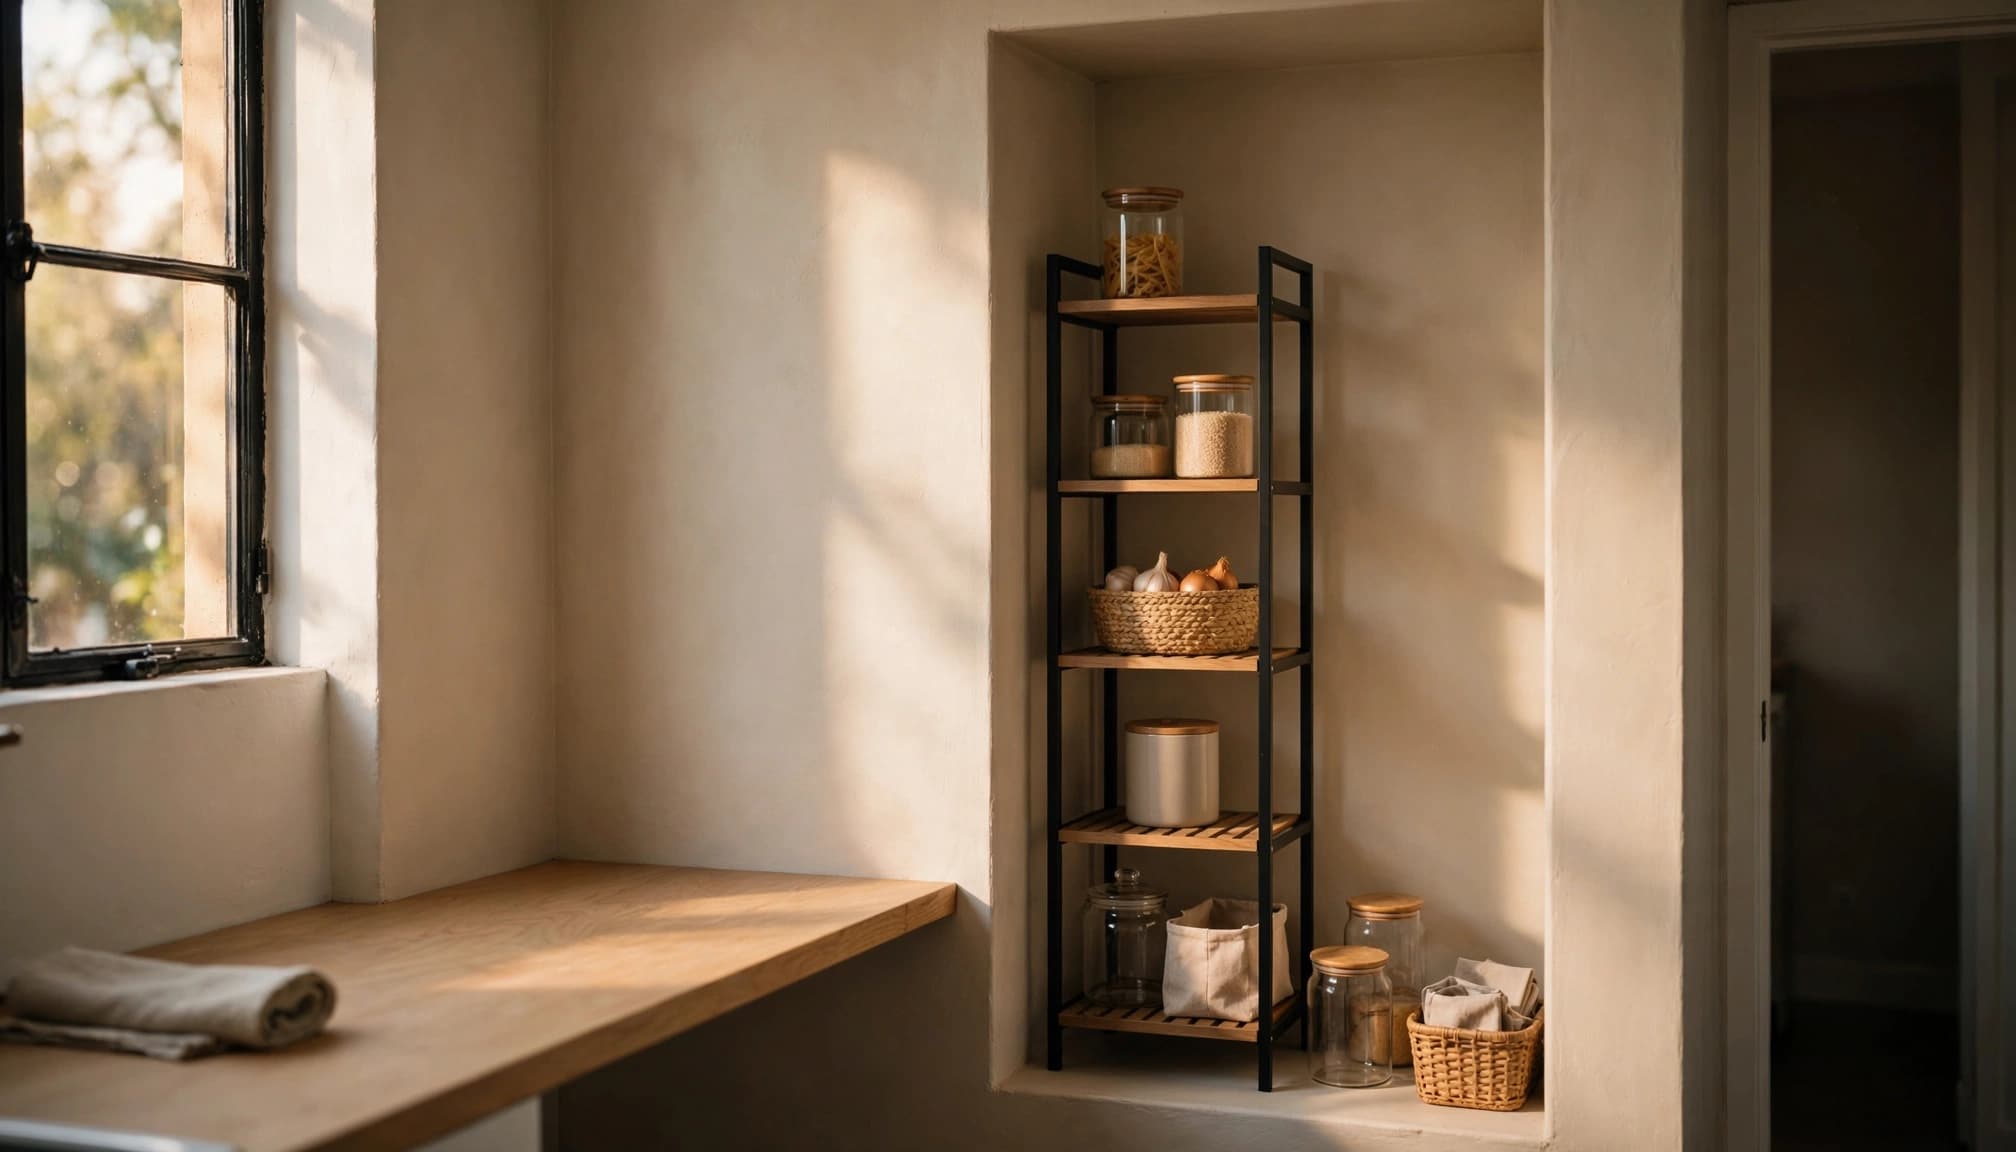
Choose a Freestanding Rack or Unfitted Cabinet
A freestanding shelving unit gives an empty pantry usable levels without installing custom shelves. Adjustable pantry shelves let you leave taller spaces for bottles and shorter ones for cans.
Check the manufacturer’s load limits and assembly instructions. Put heavier supplies on lower levels, and avoid concentrating all your canned goods on one shelf.
An unfitted cabinet is another option when you want food hidden behind doors. Check secondhand furniture listings, thrift stores, or reuse shops, but inspect the condition before buying. Look for loose shelves, damaged joints, pest evidence, and musty smells.
Follow any required anti-tip instructions. If anchoring is required and your lease prevents it, choose another storage option.
Use Door Storage Only Where It Fits
An over the door organizer can hold light packets, spice containers, or snack bags. It works only when the hooks fit and the door closes fully.
Measure the clearance between the closed door and your main storage unit. Include the depth of the organizer’s baskets and their contents.
Keep heavy glass bottles off a door rack unless the product instructions permit that load.
For renter-friendly storage, check whether hooks need screws or could damage the finish. A tension-mounted system also needs the correct surfaces and load rating. Don’t assume every removable product suits every rental.
Give Each Food Group a Home
Small pantry organization is easier to maintain when items have familiar places. Build your zones around what you cook and eat, rather than around matching containers.
A simple starting arrangement is:
- Group dry goods such as pasta, rice, and beans with canned vegetables for everyday meals.
- Group flour, sugar, baking powder, and other baking supplies.
- Place snacks where the people who eat them can reach them.
- Give unopened duplicates a separate backup area.
Put frequently used ingredients within comfortable reach. Reserve higher spaces for light items you use less often.
Keep oil bottles upright on a washable tray. You’ll have one surface to clean if a bottle drips.
Leave a little room in each zone for groceries. A pantry packed tightly on organizing day becomes difficult to use after the next shopping trip.
Labels can help when several people share the kitchen. Use plain names such as “Baking” or “Snacks.” You only need enough detail to show where something belongs.
Make Narrow, Deep, and Low Spaces Easier to Use
Different pantry shapes need different accessories. Choose each organizer to solve a clear access problem, especially on deep shelves.
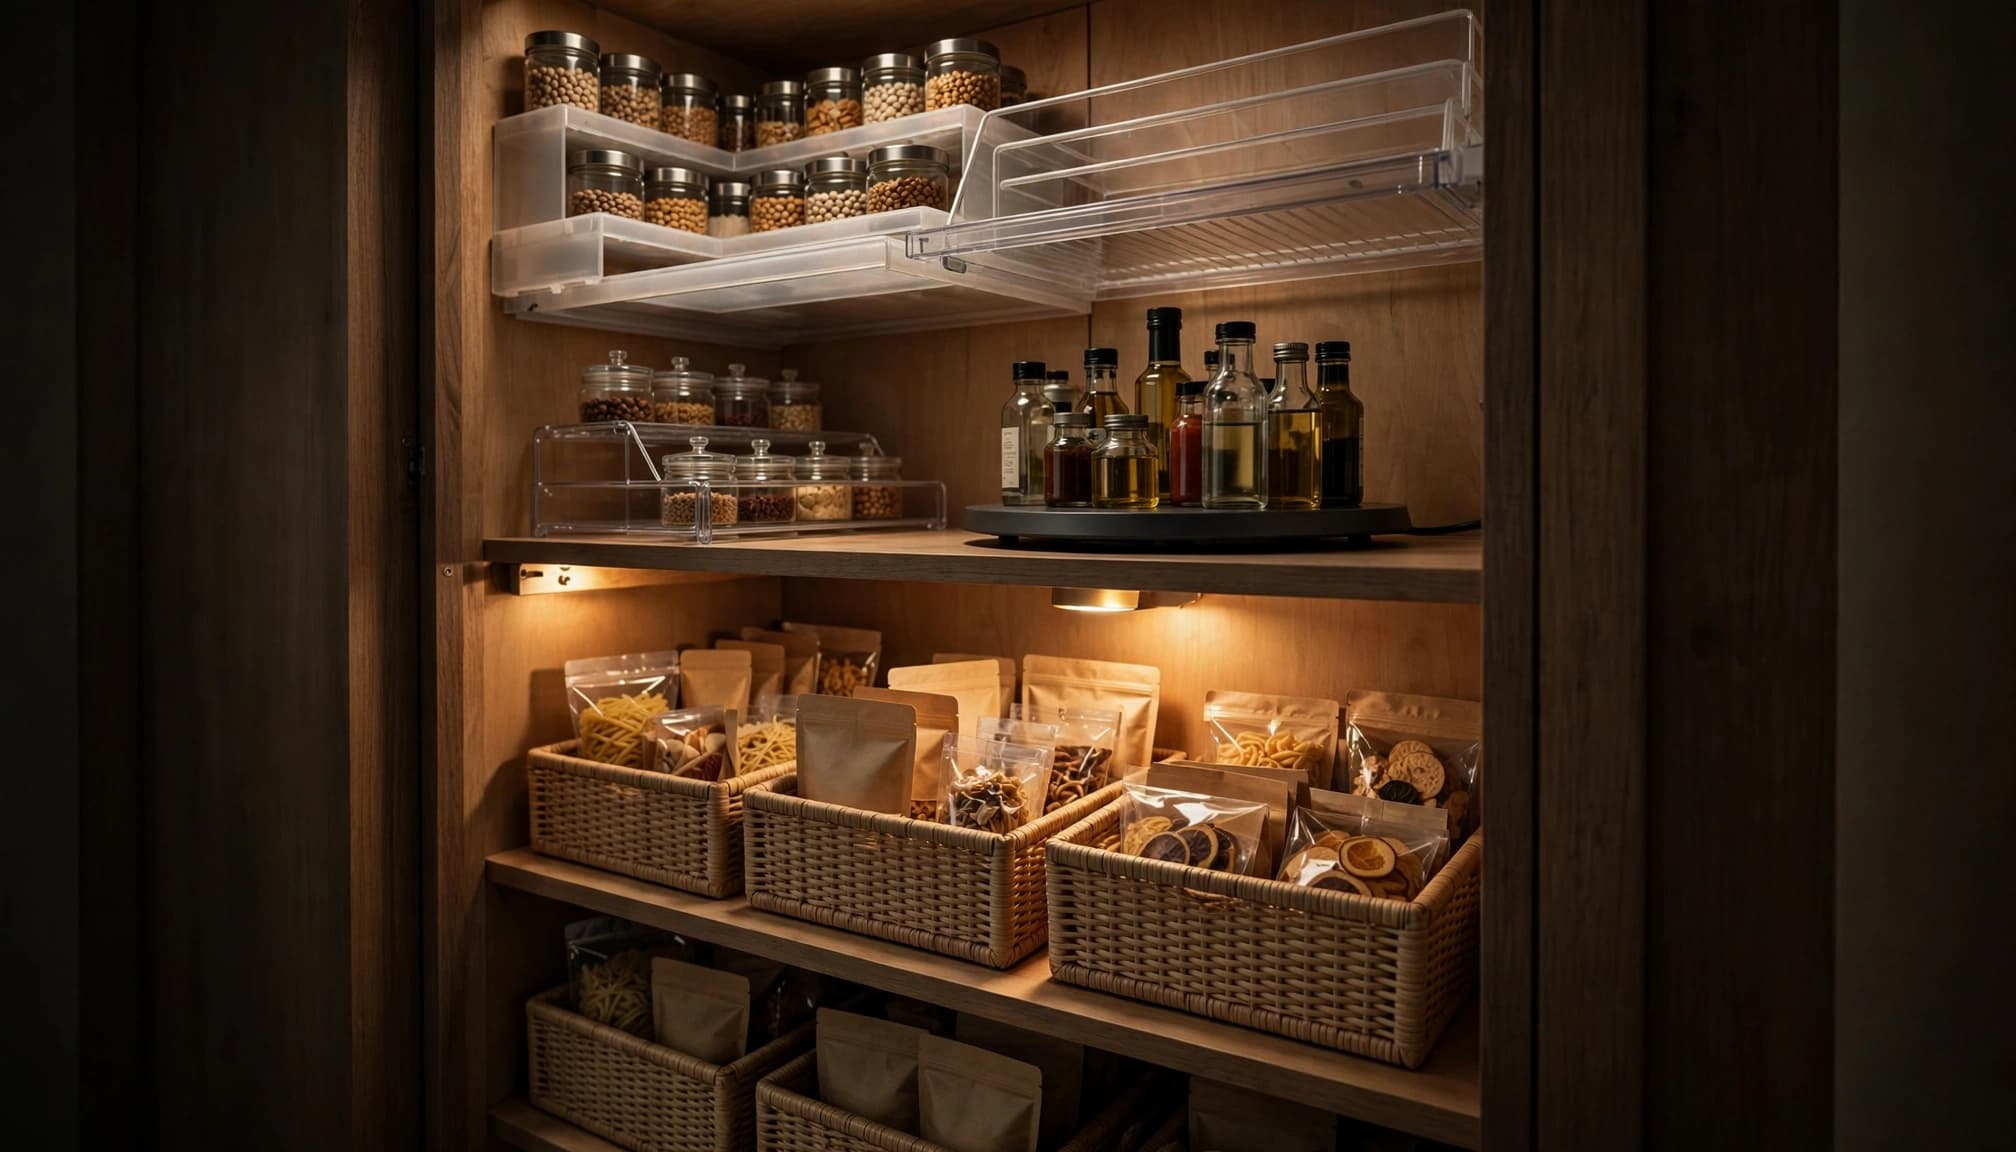
Keep Deep Storage Accessible
Use removable bins or storage containers to bring small packets and bags forward together. Choose a bin you can lift comfortably when full, and check that it clears the doorway.
Place daily-use items toward the front. Keep unopened duplicates behind matching products on deep shelves, rather than hiding unrelated foods at the back.
Turntables can make bottles easier to reach, but their round shape leaves unused corners. Measure the diameter and compare it with a rectangular tray before buying.
A deep bin only helps when you can pull it out. Check the opening and nearby obstacles, not just the shelf depth.
Avoid several loose rows of different foods. You’ll have to move too much to find what’s behind them.
Add Levels Only When There’s Enough Height
Shelf risers can separate short cans or jars on a tall shelf. Check the riser’s load limit and leave enough space to remove items underneath.
If vertical space is limited, shelf risers may make access harder. Use a shallow tray instead, or adjust the main shelf spacing if your unit allows it.
Stackable bins work well for supplies you don’t need constantly. Keep daily-use items in an open bin so you won’t need to unstack containers every morning.
For narrow spaces, favor organizers that pull straight forward. Test the movement before filling them.
Organize on a Budget With What You Already Have
Start with clean storage containers you already own for a budget friendly setup. A washable tray can hold bottles, while a sturdy basket can gather sealed snack bags.
Keep food in its packaging when using containers that aren’t intended for direct food contact. A shoebox can sort sealed sachets, but it shouldn’t hold loose flour or rice.
Trim unnecessary bulk where it helps. Remove the outer carton around individually wrapped snacks only if you retain any information you’ll need, including ingredients and dates.
Give existing containers a temporary purpose before buying replacements. After using the pantry, you’ll know whether a bin needs to be wider, shallower, or easier to carry.
Spend first on a safe main storage unit. Wait on matching acrylic bins for a more budget friendly setup.
For small apartment storage solutions, consider using an existing cupboard as an extension of the kitchen pantry for one food category.
Keep each category together during decluttering instead of spreading it across several locations. Saving space shouldn’t make your groceries harder to find.
Keep the Pantry Organized Between Shopping Trips
A simple reset prevents clutter from returning. Before shopping, check the backup area, bring older items forward, and update your shopping list.
Write your shopping list while looking at the pantry. This helps you notice duplicates before buying more.
When groceries arrive, put new products behind older matching ones. Keep one package open where practical, rather than opening a second bag because the first is hidden.
Review storage conditions as well as clutter. Ohio State University’s pantry food storage guidance notes that canned foods stored above 70°F have a shorter shelf life. If your pantry gets warm, reconsider how much backup stock you keep there.
If one zone repeatedly overflows, a little decluttering can help. Reduce duplicates, move the divider, or give a frequently used category more room.
Your system should suit your household’s shopping habits. You don’t need to return it to a display-perfect arrangement after every meal.
Common Questions About a Pantry Without Built-In Shelves
Should You Use Clear Canisters or Original Packaging?
Keep original packaging when it stores neatly and closes securely. It already carries cooking instructions, ingredients, allergen information, and dates.
Use food-safe storage containers when a damaged bag, awkward package, or poor closure makes storage difficult. Choose sizes around what you buy, not around a matching set.
Transfer the product name and useful information to the container, or retain the packaging. Don’t mix new food into older leftovers before emptying and cleaning the container.
Clear containers let you see quantities, but decanting every product adds work. Start with the few foods that need a better container.
What If You Don’t Have Room for a Shelving Unit?
Use an existing kitchen cabinet as your main pantry area. Shelf risers can make its usable depth easier to access and help separate food groups.
A rolling cart is another option if you have a suitable parking spot. Check its load rating, stability, and wheel-locking instructions. It shouldn’t block a doorway or your cooking area.
Keep food away from heat, moisture, and cleaning supplies. If a cart can’t stay in a suitable location, use it for kitchen equipment and free a cupboard for food instead.
Build a Pantry That’s Easy to Use
To organize a small pantry without built-in shelves, start with safe, appropriately sized storage. Simple food zones and accessible containers make the space easier to use.
Focus on easy access before matching accessories. When you can find ingredients, return them quickly, and see what needs replacing, your pantry is doing its job.
Start with the storage you need, then add organizers only where they solve a clear problem.